- Joined
- Oct 31, 1996
- Posts
- 1,701
- Type aircraft owned
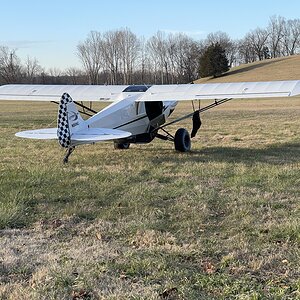
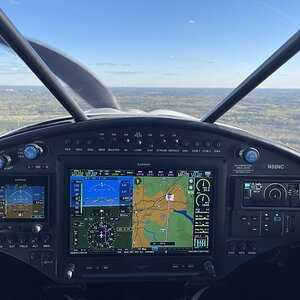
- Carbon Cub FX-3
- Base airport
- KFCI
- Ratings
- COMM, IFR, MEL, SEL
I just posted a video showing how the camera is installed on my CubCrafters Carbon Cub FX-3. It's a simple and inexpensive mod with great benefit or more situational awareness especially for those like me to taildraggers. Trent Palmer was one of the first I saw to use one after a prop strike on an orange cone I think it was in the ramp area, then others followed. Two parts needed from Amazon. Nothing to it! You'll see me using this all the time in my videos during taxi.
Amazon product ASIN B07H852D49
Amazon product ASIN B006VK8IEI
Amazon product ASIN B07H852D49
Amazon product ASIN B006VK8IEI